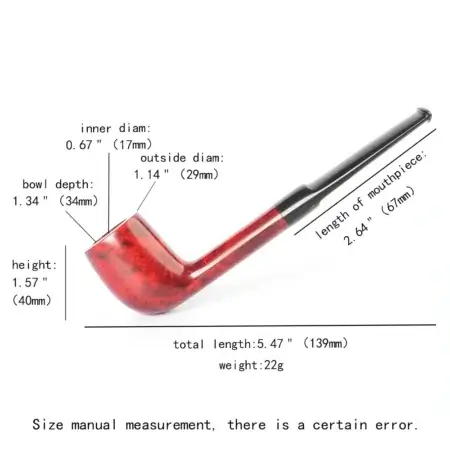
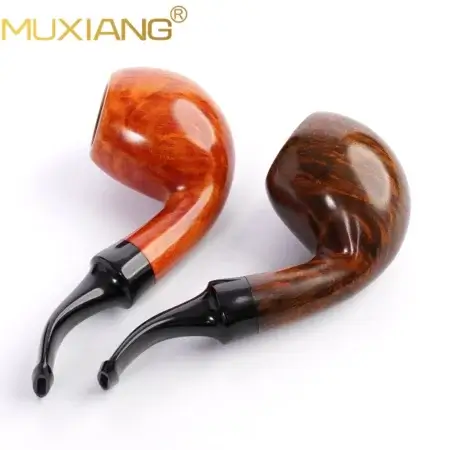
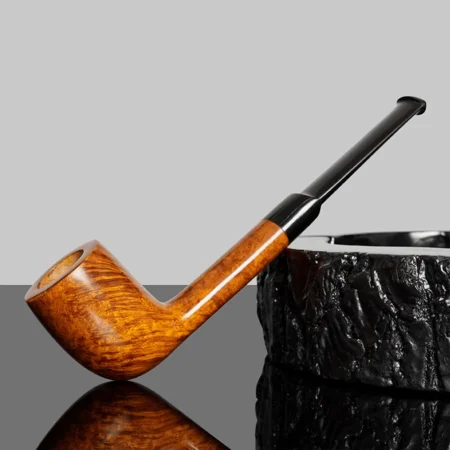
Hallo Freunde! Wenn Sie neu in der Welt der Bruyèrepfeifen sind, machen Sie sich nichts draus - ich war auch einmal ein Anfänger. Ich hatte keine Ahnung von how you used to smoke a briar pipe. – and I also thought learning all the proper techniques for packing, lighting, puffing, and more can be tricky business, especially if you’re just starting on your pipe-smoking journey. But don’t sweat it!
I’ve been through what’s happening to you now, but I think the biggest difficulty is finding the right density of tobacco. ——Don’t pack it too tightly, otherwise it will be difficult to smoke,
In this process, we need to have a lot of patience, gradually break in the new briar pipe, and make it fully seasoned. Next in this blog, I will share my experience and some mistakes about smoking briar pipes. I believe you can master these. With simple techniques, you can quickly learn to smoke a pipe.
What is a briar pipe?
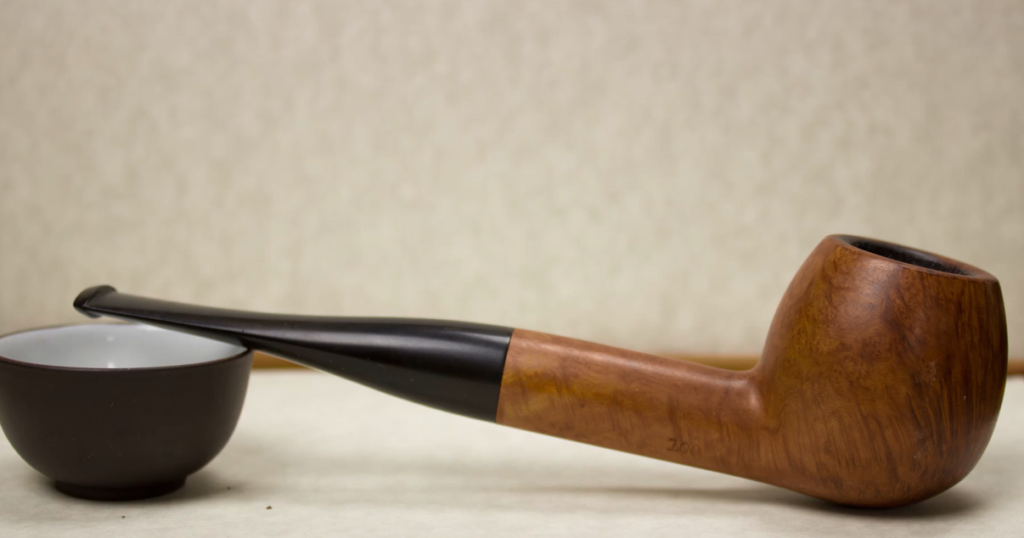
A briar pipe crafted from Mediterranean briar root is the gold standard for pipe smoking enthusiasts. This gnarly root grows underground for 50+ years, compacting into an incredibly dense, fine-grained, and naturally beautiful material that’s perfect for carving pipes.
But the journey doesn’t end once the premium briar wood is harvested. Extensive processing follows – sawing, resin removal, boiling water baths – before the wood is left to naturally air dry for years. Only then can it eventually become the premium quality for making pipes Timber. But the effort pays off!
Only a high-quality briar pipe can be carved into an extra-large bowl without adding weight, allowing for long smoking sessions without fatigue. Even better, years of use create a protective carbon cake layer inside the bowl, increasing the pipe’s lifespan.
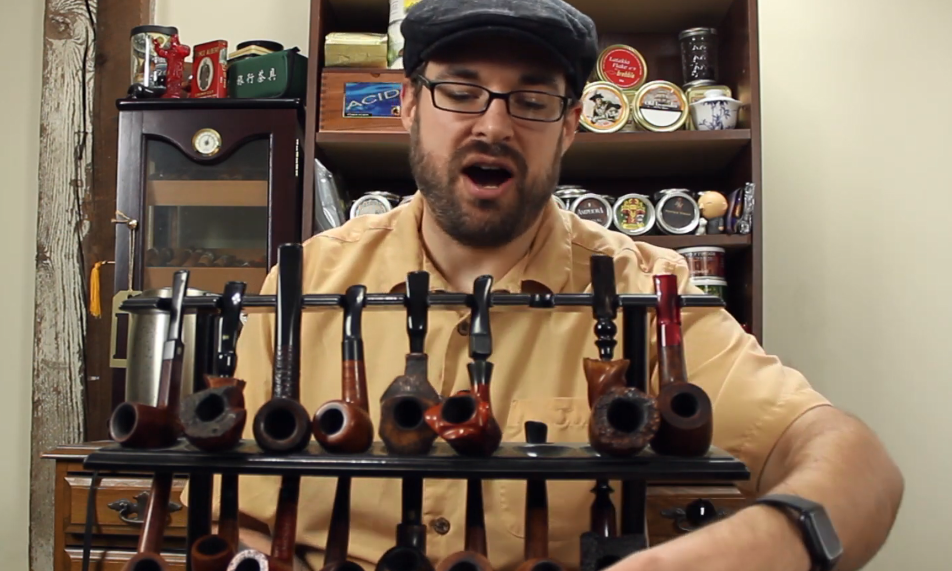
What tools and accessories are needed for smoking a briar pipe?
Now we have a thorough understanding of what a briar pipe is. But if this is your first time smoking one, you may be wondering – what tools do I need to smoke these pipes properly? Don’t worry, just keep reading. I’ ‘ve listed everything you need right here.
A pipe tamper is also an essential tool, typically featuring three functions: tamping the tobacco, clearing the ash, and aerating the draft hole. It can help us fill tobacco more conveniently. Of course, if you don’t have one, I suggest you buy one on Vapepipe.shop
teach
How do you prepare the tobacco before smoking it in a briar pipe?
Once the tool is ready, we can load the tobacco. First, gently rub the tobacco between your fingers to break it up. Then, let the tobacco rest for 10-15 minutes to air dry. I think this method helps bring out the flavor of the tobacco. To soften, for extra flavor we gently rub the tobacco with our palms to release the natural oils. Afterward, let the tobacco dry in the open air for 10-15 minutes to decrease moisture.
I swear by the Virginia tobaccos grown in the southern US of A. They have a rich aroma and smooth texture. Therefore, here I choose to use Virginia tobacco to show you
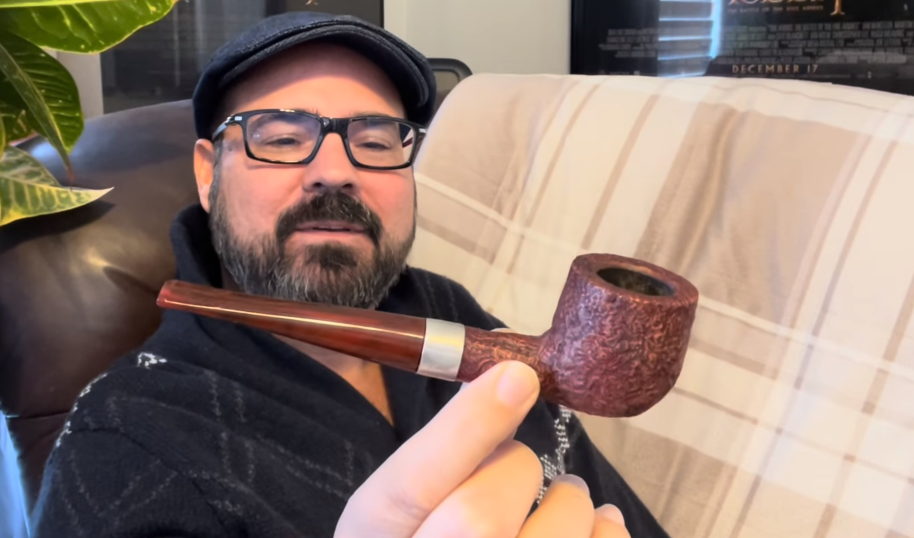
Steps to use briar pipe
If you are using a new pipe, I suggest you take it easy! The correct initiation process is crucial to extending its lifespan. Before first use, apply a layer of honey to help form a protective “charcoal cake”. Properly packing the tobacco is a crucial step for an optimal smoking experience with a briar pipe. Many seasoned pipe smokers recommend the “3-2 packing method”.
Specifically, you first fill the pipe bowl with tobacco and do an initial light tamping using moderate pressure. Repeat this step two more times, pressing a bit harder each time.
Then do two more rounds of lighter, more delicate tamping, being careful not to overdo it. The goal is to reach an even density that is neither too loose nor too firm. When lightly tamping, you should feel a nice springy resistance. This indicates the tobacco has been nicely compressed to just the right density.
At this point, do a draw test. You should feel steady, even airflow resistance that is not too loose or tight. If the draw feels off, adjust the tobacco density and re-pack.


