Do you sometimes want to relax but don’t know where to start? It doesn’t matter, I’m here to teach you how to make a super simple pipe to help you get through a troublesome day easily. Why make handmade pipes?
You must know that although e-cigarettes are popular now, I think nothing can replace the unique charm of traditional pipes, and I can also find great happiness and relaxation in the process of making them.
However, it can be a bit complicated for many beginner pipe smokers. But please believe me, as long as you carefully read our blog on how to make a smoking pipe, you can make a satisfactory smoking pipe!
What types of wood are best for making smoking pipes?
What kind of wood then would be suitable for pipe manufacture? From my experience building pipes, I believe it to be briar wood; it behaves wonderfully at high temperatures, has antibacterial properties, and has a tight grain and very strong heat resistance to resist the prolonged high temperatures within a pipe without charring or cracking. Its naturally whirlingly grain patterns are also perfect for creating unusual pipe forms.
Furthermore, did you know heather is also high in natural oils? Its resistance of moisture absorption is first-class! This considerably increases the lifetime of the pipe by preventing excess moisture from breaking or deforming it. Thus, I highly suggest briar wood; this benefit is especially noticeable in the production of upscale pipes!
Cherry and black walnuts are also excellent substitutes if you cannot obtain briar. Although their material is slightly inferior to briar,
What tools are needed to carve and shape the pipe?
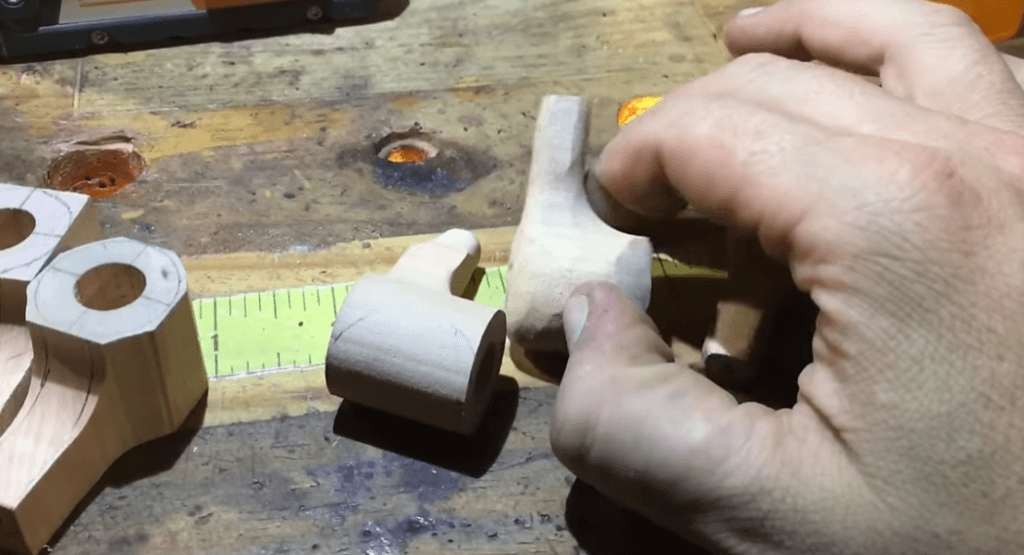
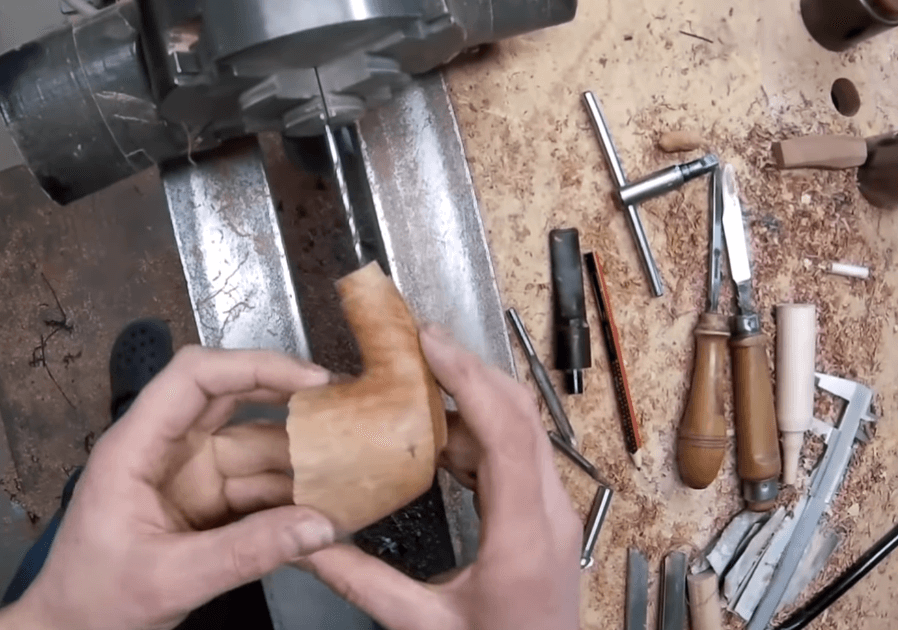
We must ready many pipe carving tools before we begin to create the pipe. My favorite are files and carving tools. As we form the pipe, they can enable us to save more process time.
To enable you to polish the surface of the pipe to be quite smooth, also get some sandpapers with various grits ready. To cut the mortise and shape the tenon, you also will require a rubber bit and threading tap tools.
Regarding materials, I have mentioned earlier that briar is the greatest wood used in pipe manufacturing. I really advise using briar wood, if you have it.
Steps to making a smoking pipe
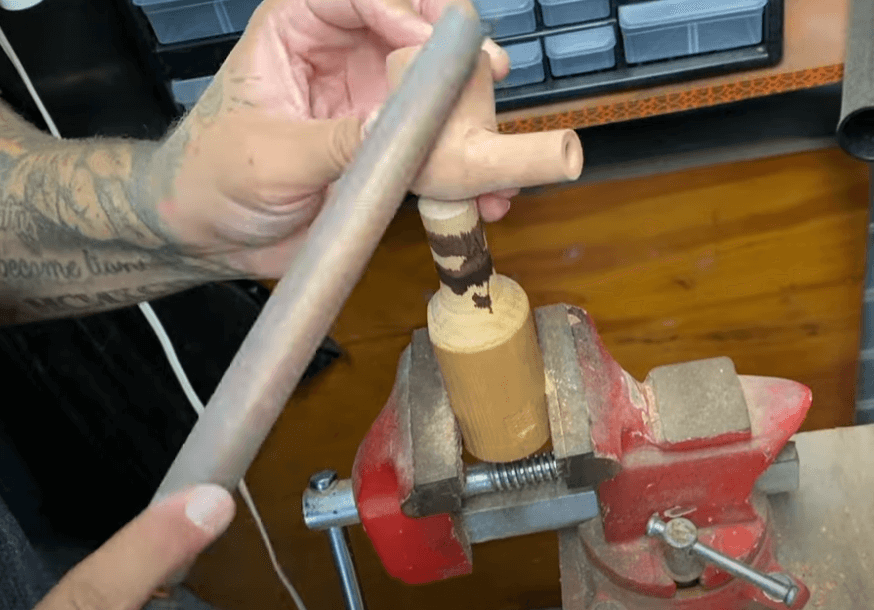
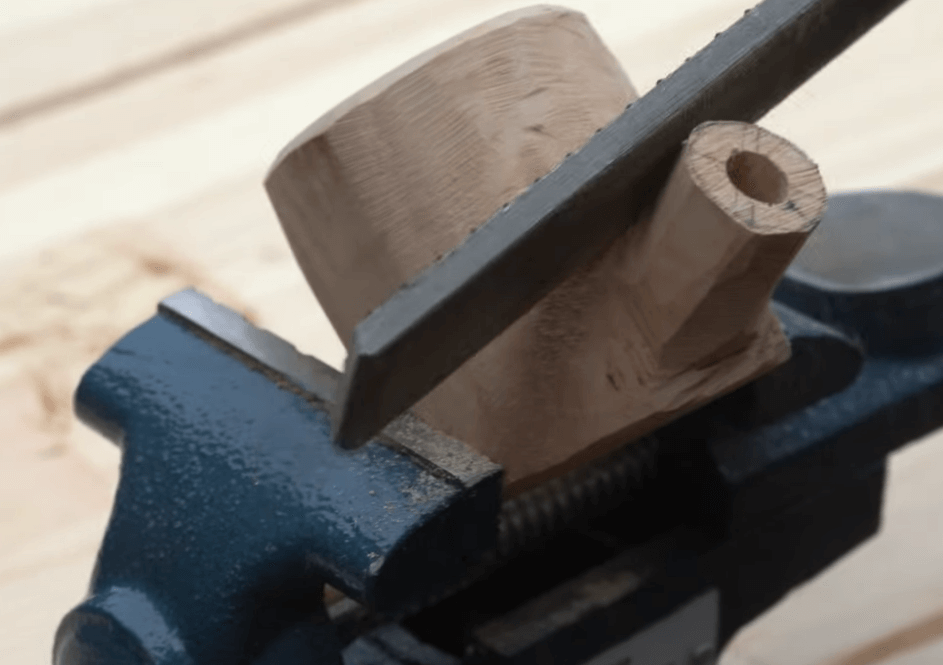
First, take your wood block and draw the shape of the pipe bowl and stem. I recommend starting simple for your first pipe. Then use your carving knife to carefully cut out the shape. Take it slow and make smooth cuts. No need to rush perfection!

Alrighty, then we note where the pipe bowl and pipe are located. Drill one inch deep into the middle of the pipe tip using a 13/16-inch drill bit; then, expand the hole a little bit with a similar cone-shaped bit to provide additional smoke area.
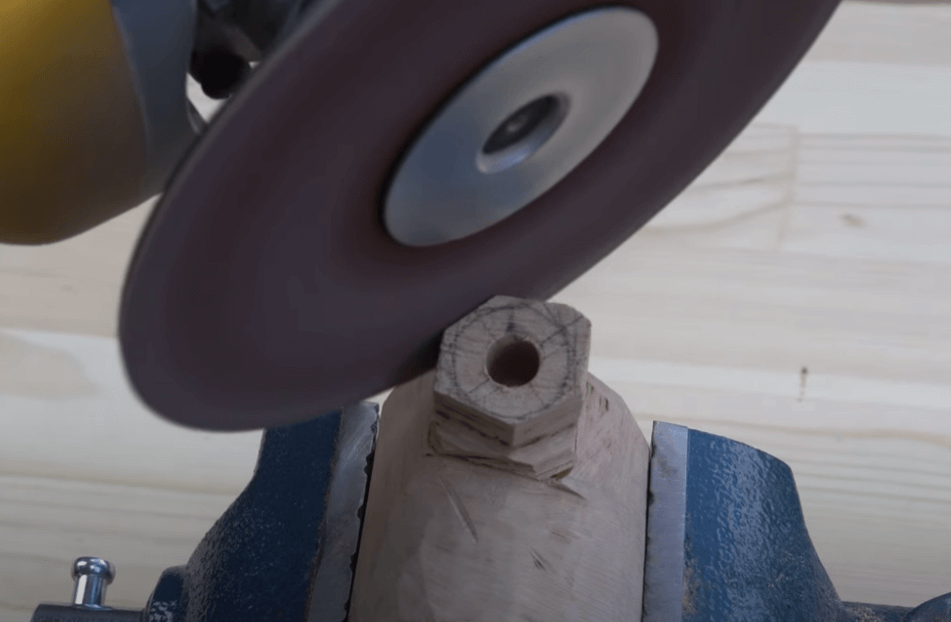
The crucial drilling process occurs next. Slowly bore the smoke route using a drill press and 13/16 inch bit. Staying concentrated and moving gently will help to maintain smooth airflow. After the first hole is bored, gently broaden and smooth the passageways using a carving knife. We must not hurry and carve gently as this stage calls great accuracy. You also have to periodically blow air to check the ventilation throughout this procedure.
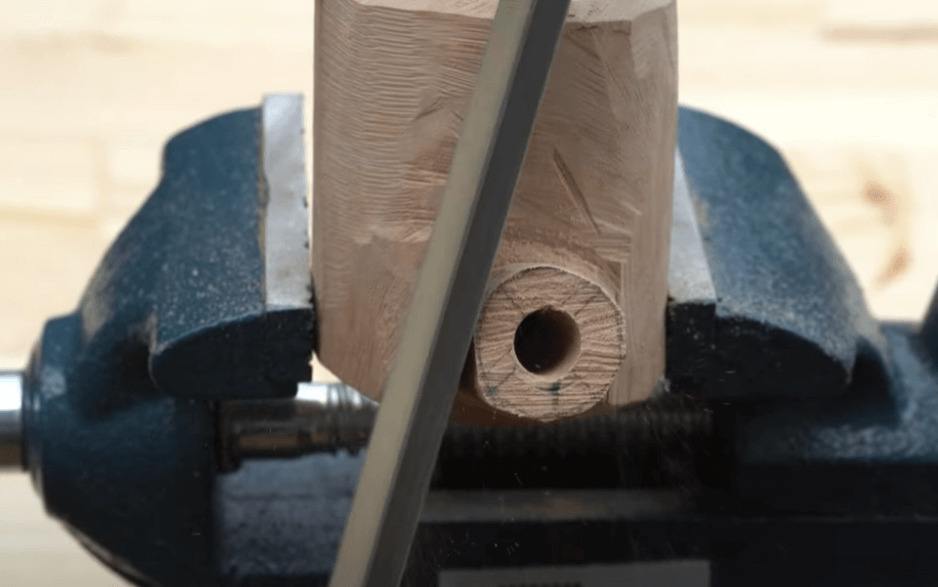
To guarantee a precise connection to the pipe head hole, then open the flue from the bottom of the pipe using a tiny 1.2mm drill bit. One must carefully consider this angle and depth. Then carefully carve using the pre-drawn flue structural pattern with the carving tool you have ready to open the whole ventilation system.
After the fundamental form is cut out, polish the shape with coarse sandpaper. Level surfaces and smooth off any sharp edges. Then refine it with finer grit sandpaper. Smooth out the stem so that it finishes nicely.
Here’s a pro tip: bore the tobacco chamber and stem airways using a drill a little bit. This stops unintentional pipe wall drilling.
It’s time to attach the bowl and stem once you have them cleaned, smooth, and cut.
How do you ensure an airtight seal when assembling the pipe parts?
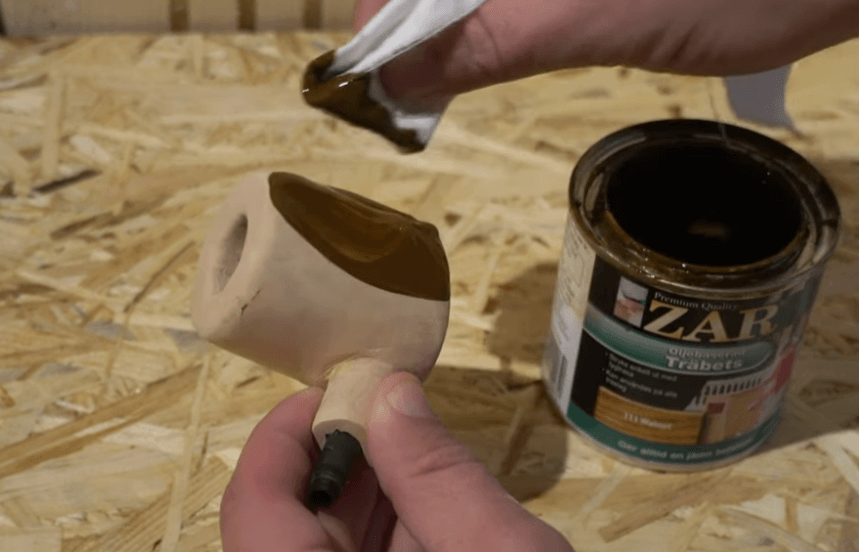
How thus can we guarantee a perfect seal during assembly? Not to panic, friend; here are some simple techniques to enable you to securely fasten the stem. To guarantee a precisely flat surface, first gently sand the ends of the stem using fine sandpaper. This lets a close seal possible. Then, here there is no need to overdo it; apply a thin uniform coating of adhesive. We then only need to glue the components together with mild pressure. Here is a tip: I maintain the pipe stem straight using a dowel when building pipes.
Your first handcrafted pipe is finished; we may additionally coat the pipe to provide a protective coating with beeswalk. Although this technique seems difficult, you may also create a distinctive and excellent pipe if you run it under close control.

