How To Properly Pack A Tobacco Pipe
Today I would like to talk about packing a pipe properly; This is an important skill for all pipe smokers to learn.
Many modern-day pipe smokers find themselves in a situation where the fresh pipe tobacco they bought barely burns or goes out after a few puffs. The main cause is usually wrong pipe packing and now I will share all of my knowledge with you so that you can also experience perfect packing.

What tools do I need to properly pack a tobacco pipe?
There are a few essential basic tools when it comes to packing a tobacco pipe right.
Firstly, you need a pipe tool which is multifunctional tool used for tamping, scraping and cleaning pipes. My recommendation here is MUXIANG 3-In-1 Pipe Tool.
MUXIANG 3-in-1 Pipe Tool packs three essentials – tamper, reamer, pick – into one little accessory. As you smoke, the tamper lets you press the tobacco evenly into the bowl for consistent burns. The reamer pokes and scrapes out ash, dottle and cake buildup from the bowl and shank. And the pick clears gunk from airways and stem cleanly.
It’s handy for sure but doesn’t perform as well or last as long as fancier tools do. Separate dedicated tampers and reamers like affordable Czech tamper and Buntner reamer actually work better in my experience. Shape of Czech tool gives maximum leverage when tamping mid-smoke. Sharp blades on Buntner reamer cut back buildup way better than generic multi-tool ones for removing cake.
You can also get beautiful all-in-one tools handcrafted like Sheffield pipe knives and Laguiole. But as new pipe smoker, you probably don’t need all those bells and whistles yet.The MUXIANG gives cheap way to get basic trio of tamper, reamer, pick in small portable size.
More seasoned hobbyists may upgrade eventually but this is solid starter option for any new piper looking for affordable, handy 3-in-1 maintenance kit.
What is the best way to pack a tobacco pipe?
three pinch method

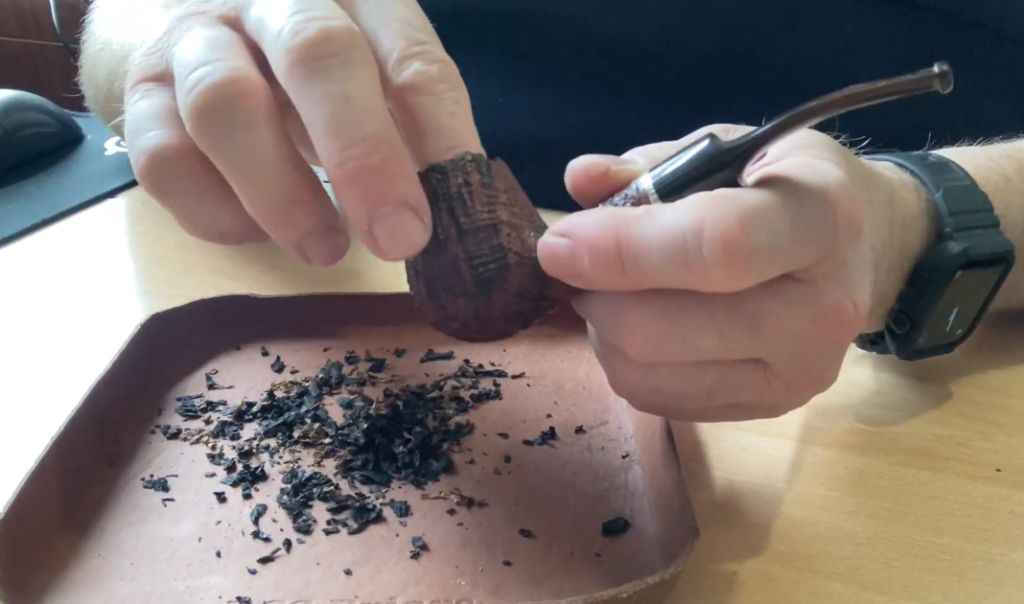
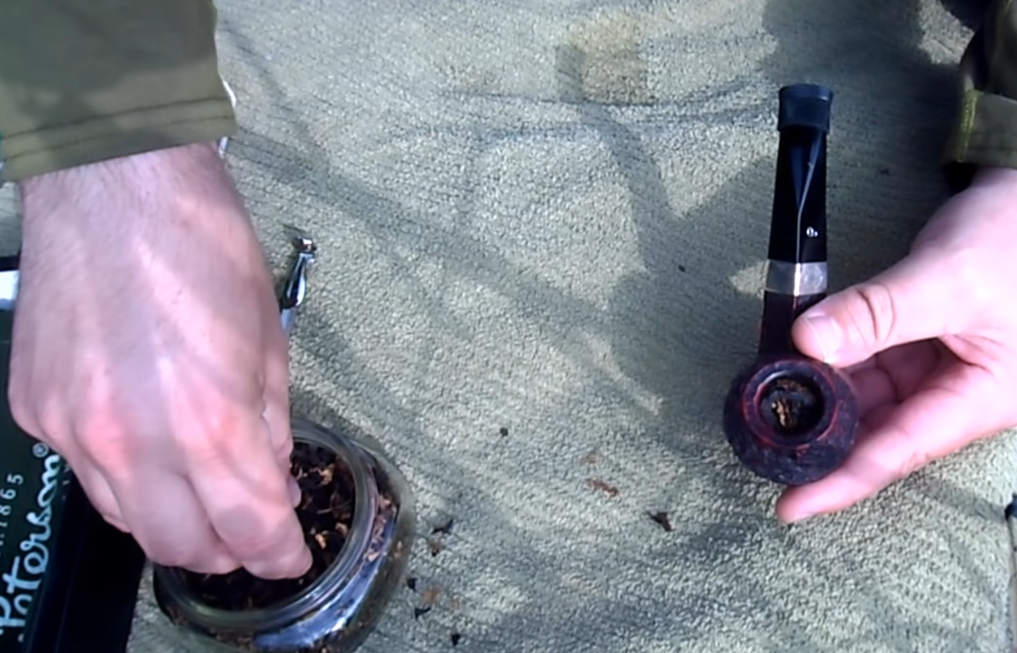
How you pack your pipe is really about personal preference and changes over time, my friend. Lots of beginners start with basic three-pinch method, just sprinkling in pinches of tobacco to fill the bowl and gently pressing with thumb.
But here’s a key tip: always start loose and tamp gently at first. Lightly sprinkle your ribbon cuts or rubbed flakes for bottom two-thirds of the bowl and pack with minimum pressure – let tamper weight press it down.Ribbons can handle more density than delicate flakes. Ribbons tend to spring back like crumpled newspaper, while pressing flakes too hard can clog airflow. Pack flakes lightly like stacking flat newspaper pages. Go easy on tamping flakes since they pack denser with less space between them. Over-tamping quickly makes draw too tight.So for best results, pack ribbons like crumpled newspaper and flakes like flat newspaper pages.
Being gentle on initial tamp ensures open draw from beginning to end. Over-packing can cause tongue bite, sore throat and hot smoke.Underpacking makes tobacco burn fast.Good pack has slight natural resistance but not too much effort on draw.
Frank Method

Another popular packing method is the “Frank method,”
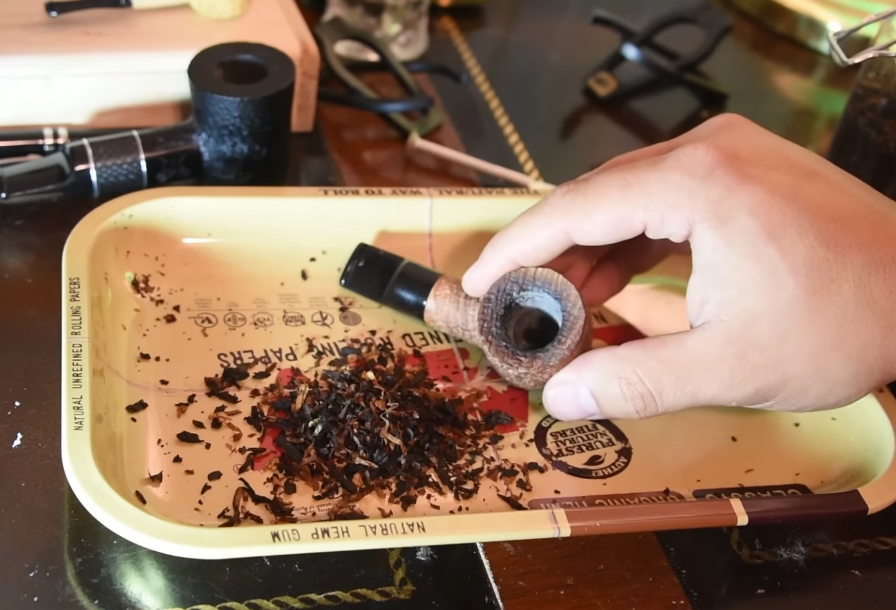
Just toss the tobacco in until it starts to overflow somewhat. Don’t push it down at all; Till you have a little dome rising straight up to the rim, lightly scatter additional tobacco over the top.
Through some trial and error, I realized the goal is to keep the tightness the same from start to finish of the smoke. Since ash builds up and you’ll be tamping down the tobacco in the second half, keeping it equally loose throughout prevents it from getting too packed down at the bottom. It’s super tricky for anyone to pack the bowl so flawlessly that you won’t need to tamp at all for an ideal smoke. But using the tamper always applies downward pressure, so you gotta pack it looser at the bottom. Packing loose bottom and tight top is unavoidable if you’ll be tamping. If you can smoke without tamping, then no need to pack loose on bottom – the goal of the loose pack is just to maintain the tightness despite tamping. An overly tight pack won’t let the air flow right; a loose pack allows too much air, making the burning layer thicker and charring more tobacco. There’s no set standard for how loose or tight to pack. The key is to match your packing method with tamping during smoking to get clean burns without choking off oxygen or allowing excess burning. This is why many new smokers struggle to simply follow one packing method and get good results. A relatively easy way is to not separate sections, but use a fixed amount of tobacco based on bowl size, and stuff it in evenly (even with some force). Then cover the bowl with your palm and firmly pat it several times – this can evenly adjust looseness and tightness.
Burning, pressing and reigniting are not necessary. Once lit, you can press the tobacco down while smoking to keep it burning more evenly across the bowl. Key points: scorch the top layer until it turns white with strong, slow pulls that build up a good coal; don’t put out the fire but tamp the tamper over areas where it’s burning too hot so that cherry would jump to those places which aren’t burning as well. The standard for this step is having a white ash cap on top. I struggled with this step for a long time and left unburnt tobacco at the uppermost layer which spoiled rest of my smoke. This cap isn’t just pushed-aside black stuff (though some may be)—it should come from completely incinerating everything up there.
During the slow-burning part, let tobacco burn hotter when needed so as to avoid any unburnt charred chunks. If you puff slowly all along, char layers will just build thicker and thicker around what remains unburned inside.
No matter if done by breath or whatever else, key to slow burn is taking many small draws without exhalations into pipe or breaths through pipe; only enough air should be let in to regulate temperature but you don’t need exhale at all if your draw technique is perfect – however most likely this will heat pipe too much or kill fire unless some air comes in. Remember that blowing into bowl serves no purpose other than cooling down ember so it won’t go out easily again -more blown breath means more watery deposits.
The thing is, as you gain more experience, you will find that some techniques may be more suitable for you than this method, such as the gravity method I have been using now.
gravity method

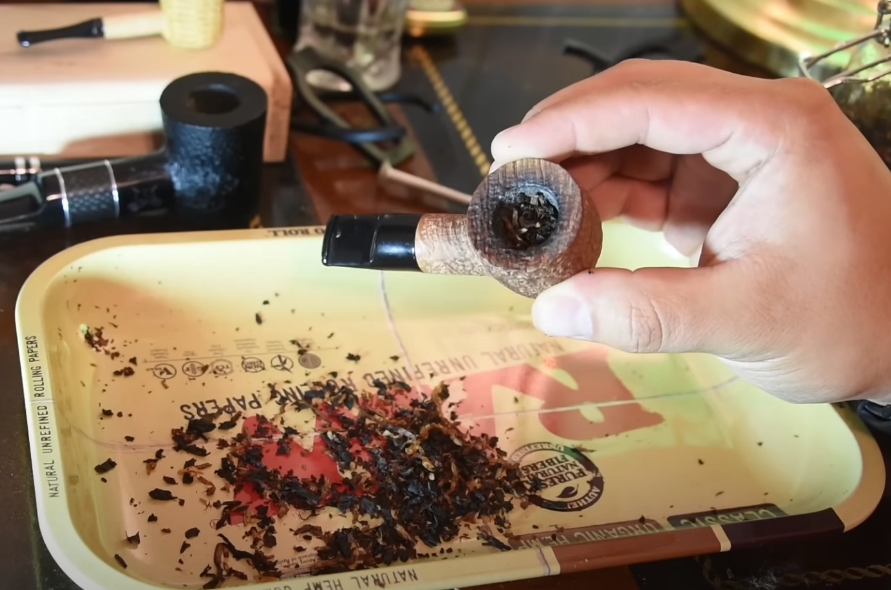
In addition, there is another simple method of packaging tobacco, which is the gravity method. Just start by putting some shredded tobacco in your palm. Then invert the bowl over it and gently press down while moving in circles. This lets gravity naturally suck the tobacco up into the bowl evenly as you go. Once full, use your thumb to lightly tamp it down and check the draw to make sure airflow is good. Finally, sprinkle a little loose shreds on top and gently tamp with just your thumb. Give the draw one final check – it should have just the right resistance.
This packing method takes out all the guesswork of other techniques. The tobacco lights perfectly and burns nice and slow all the way to the bottom. Gravity packing is quick, clean, and always gives you an ideal smoke. No more fussy multiple steps or uneven packing.
Give it a try next time you want an effortless, consistent bowl. I think you’ll be amazed at how easily it packs and how evenly it smokes. No packing method is easier or more effective in my experience.

