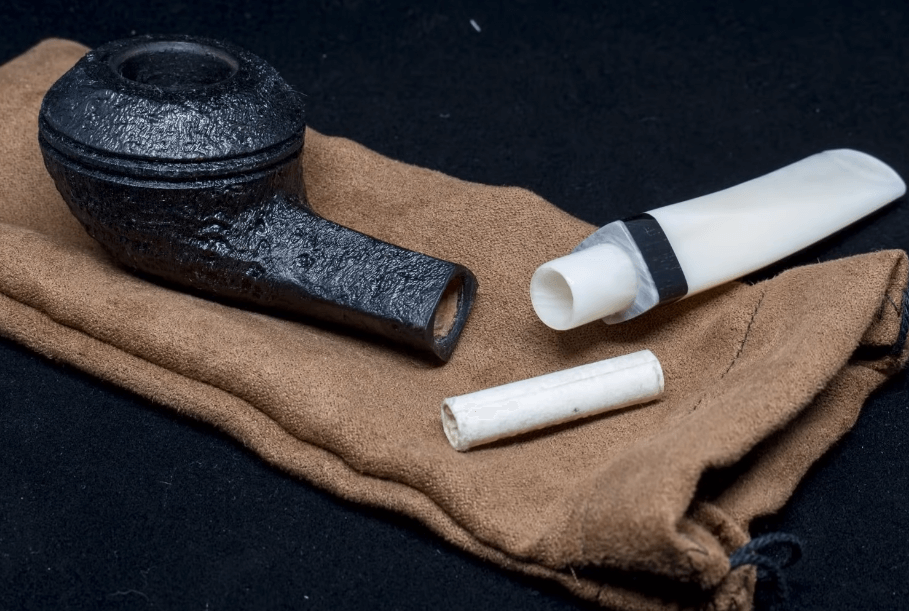
What can compare to the satisfaction of making the perfect tobacco pipe with your own hands? Let me tell you, when I first made my own pipe out of simple briar wood, I was so excited. Friends, the smoothest and most delicious smoke is waiting for you as soon as you give pipe-making a try!
The process of making this is very simple and fun. With just a few wood blocks, a drill bit, adhesive, and some decorations, you can turn a piece of briar into a beautiful handmade pipe, and you can even design it to your liking pipe shape
Are you still worried? …is pipe-making really something I can do myself? Is it complex and requires special skills? Let me tell you, if I can do it, you can do it too! All it takes is some sanding, carving, and drilling, —don’t worry, these steps are super easy for novices to master! I also provide some tips on how to make a smoking pipe to make your pipe look more artistic.
What wood can you use to make a pipe?
The selection of wood is crucial in achieving the ideal pipe. After extensive experimentation with other types of wood, I discovered that briar proved to be the optimal material for crafting pipes. What makes it distinctive?
Briarwood is the most popular pipe material in Europe and the United States. It originated in the Mediterranean region and has extremely dense particles due to being buried underground for many years. This natural fire resistance makes briar wood ideal for providing cool smoke.
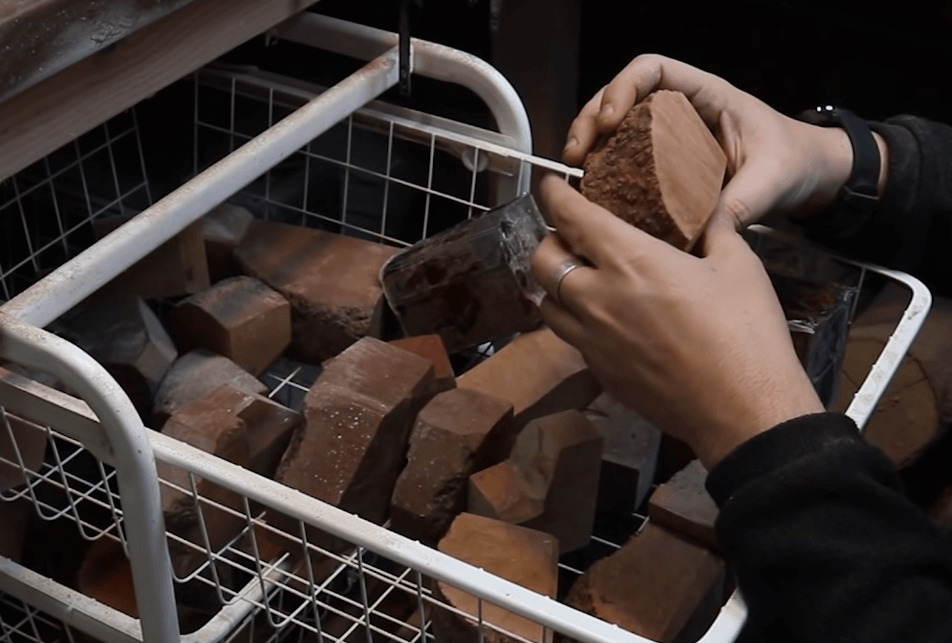
And it contains grease, which can seep out when heated and then cover the inner wall of the flue. This film can filter out irritating substances in the smoke, and it gives the pipe a unique aroma. This gives the smoke from the briar pipe a layer of natural aroma.
The unmatched superiority of briar wood stems from its unparalleled ability to absorb moisture and dissipate heat. This is attributed to the numerous microscopic pores permeating the dense grain of quality briar. As tobacco combustion generates heat and moisture when the pipe is smoked, these pores continuously expand and contract to absorb and release them. This creates a cool, dry smoke unmatched by other pipe materials.
However, not all briar possesses this porous character. Superior pipes are judged by lightness in weight, regardless of bowl size. This lightness indicates optimal curing, where resins and saps are removed through methods like boiling, air-drying, kiln-drying, or oil-curing. Absorption capacity depends on briar density – harder blocks absorb moisture slower than softer ones. This is observable when the stain permeates rapidly through overly soft, loose briar grain. Such low-density briar produces pipes prone to moisture seepage and heat damage.
In addition to briar, oak, maple, or cherry wood can also be used to make smoking pipes. But believe me, they simply cannot withstand the repeated smoking process like briar wood. Their porous nature will cause them to burn through from the inside! Therefore, in this blog post, we have chosen briar wood to craft the pipe.
What tools are needed to make a pipe?
Next, the first step is to prepare the right tools. Today let me take stock of the tools needed to make an entry-level pipe!
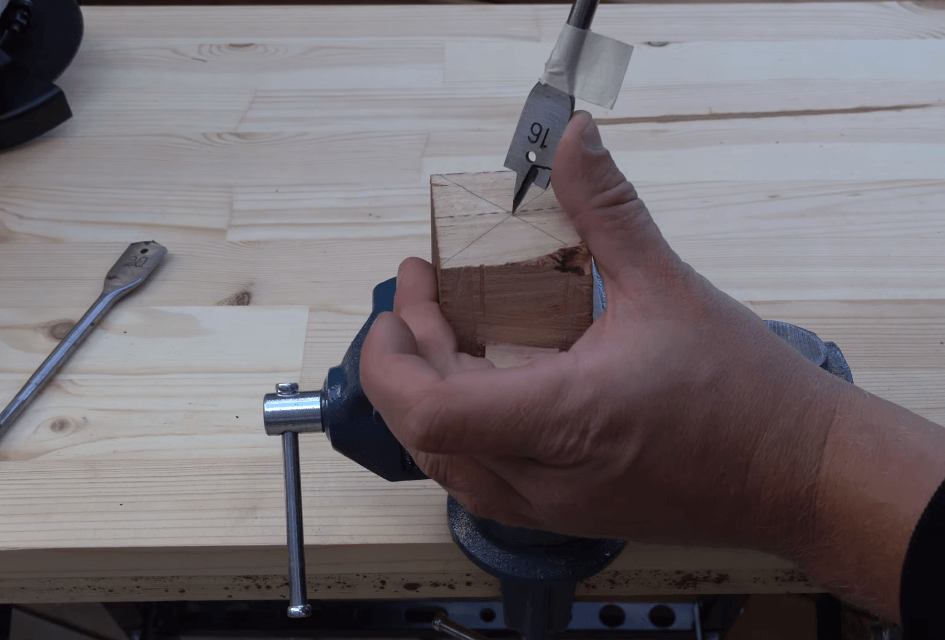
First, a reliable power drill is a must, as this will be the key tool for carving out the pipe’s airway. I recommend a low-speed but high-torque drill, which will ensure you can steadily drill a beautiful channel.
Additionally, you’ll need various grits of sandpaper for polishing the pipe. Of course, other basic tools like pliers, files, and grinders are also indispensable. With these tools, you can better control the force and angle when carving, ensuring the pipe’s structure and shape are more exquisite and charming.
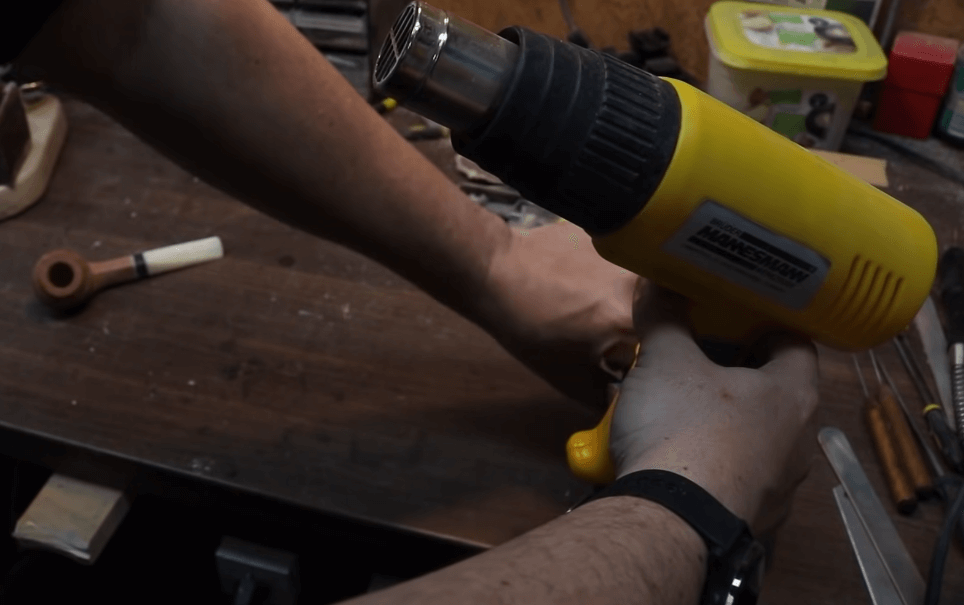
Start making wooden pipe
I started by drawing the outline of the pipe on a piece of wood. This requires you to use your unlimited creativity! I really like making bulldog pipes. This is the coolest pipe shape in my opinion! But don’t worry, just a few more In a few hours it will turn into a beautiful handmade pipe
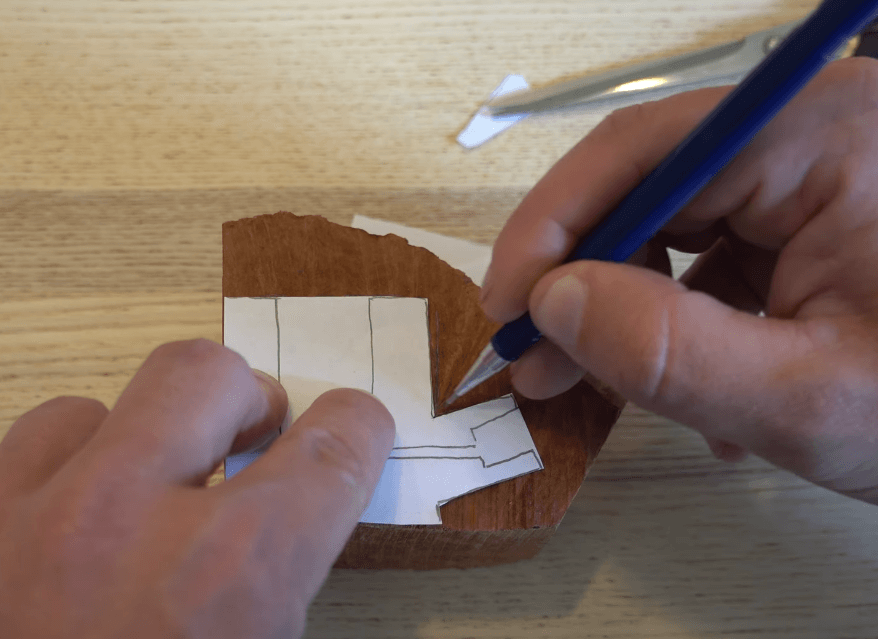
I designed the pipe shell to be 4 cm wide, 5 cm high, and 2 cm in diameter. Then on the briar wood block, I marked out the mouthpiece shape.
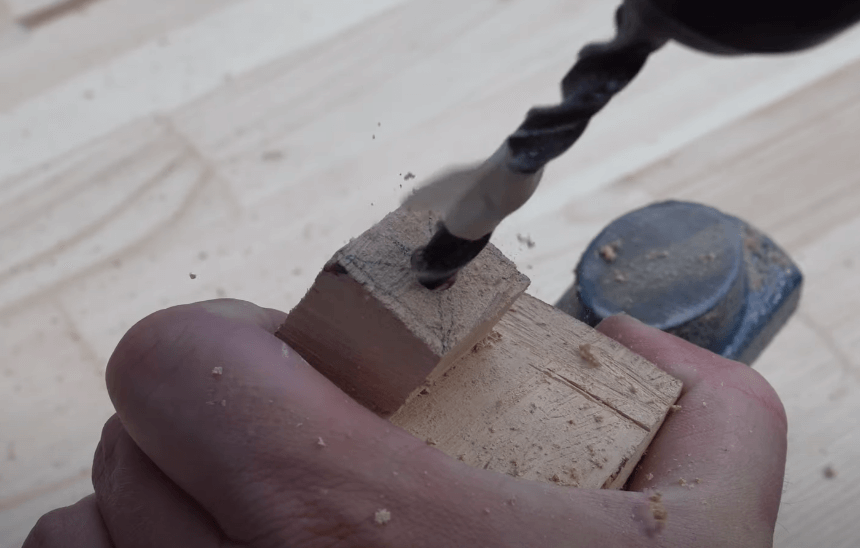
To drill holes in the bowl, I tapped a pilot hole with a hammer and then enlarged it with a power drill until big enough to fit the mouthpiece.
Then, we need to use an electric drill bit to drill through the entire flue in the wood block. This process requires the most precision. The position and diameter of the channel will directly affect the experience and texture of the pipe! So let’s work hard on this production step and never relax!
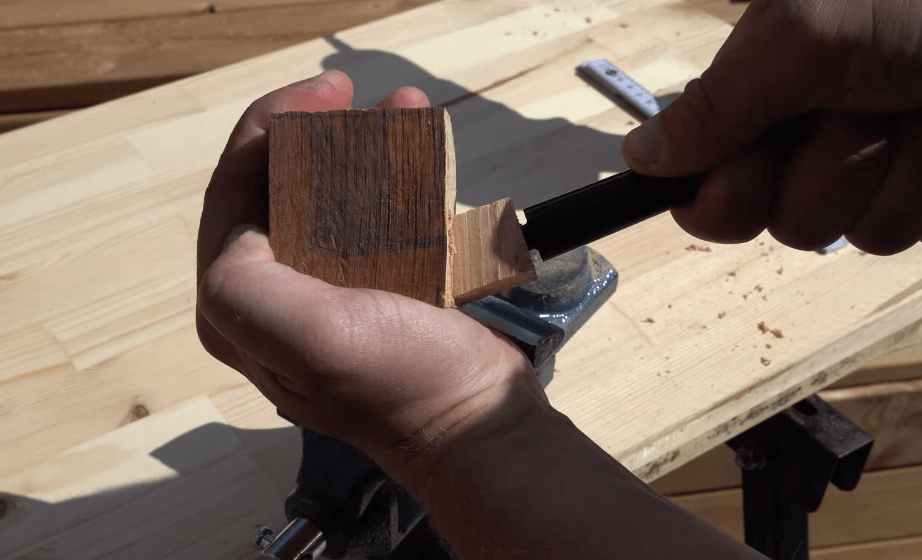
Then comes the most critical process of drilling the smoke chamber. We can try to use auger bits of different diameters to gradually enlarge the smoke chamber. There should be no deviation in controlling the angle and depth of the drill bit. Finally, we also need to manually file and refine the chamber to optimize the smoking experience.
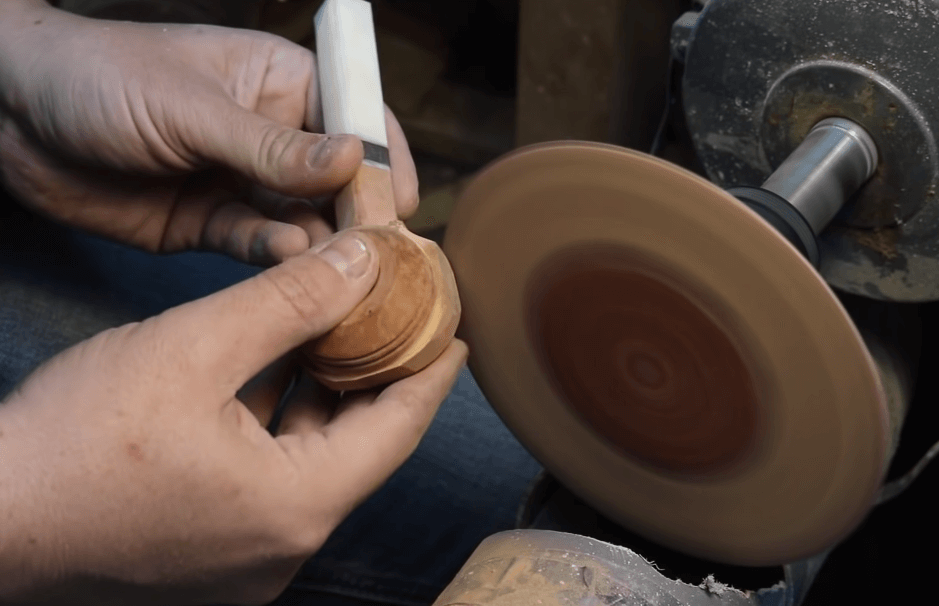
After multiple rounds of sanding and polishing, here I use beeswax coating for waxing, which through the heat friction of mechanical polishing gives us a very shiny surface and protects the pipe very well.
What we also need to pay attention to is that the installation of the acrylic stem also needs to be accurately aligned. Be sure to test again and again to ensure smooth ventilation. Only in this way can we create a perfect high-end handmade pipe,Next, let’s take a look at the finished handmade bulldog pipe. Isn’t it very cool?
